
Although I am rarely called upon for anything other than locating possible props and acting as a sounding board for disgruntled thespians, I do occasionally help out with a thing or two, usually in the costuming or make-up department (being called in to paint on a mustache or such). This time Sebastian informed me he required a cyclops mask for the play they are working on. In the past, the kids have made do with simple masks of cardboard or paper bags with eye-holes cut in them. But I had this stuff in my craft cabinet:

So I used a mask I had bought and painted nearly 30 years ago as my mold. I just covered it with plastic wrap first.

From there, I just followed the directions, first creating an X over the bridge of the nose to give the mask some structural strength, then beginning to build up some layers over the rest of the mask. It really takes only three to five layers to create a strong mask.

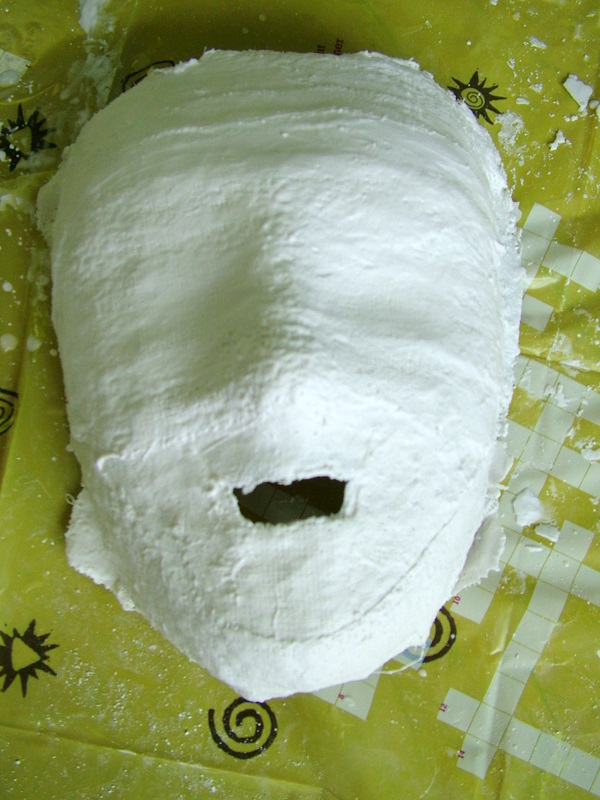
After the basic mask was made, the fun began. I built up the area in the eye sockets a bit, sculpted a false eye from thin strips and built up the nose and lips. I also built up the brow bone above the eye a bit. And I added a wart to the nose, at Sebastian's request.

It felt really heavy at this point, but after drying for two days, it was quite light. I drilled the holes for the eyes and trimmed some flimsy bits from around the edges. I wish I had had a spray primer to coat it with before painting, but I didn't, so I just used a few coats of white acrylic.
Of course, painting is the real fun--watching it come to look like something. I gave it a coat of clear acrylic spray and hot-glued on a strip of fake fur for the eyebrow. It awaits only holes on the sides by which to attach some elastic, although I am trying to think of some other way--I don't want to create weak spots by drilling holes.

Sebastian thinks this play is going to be really good (they all are, you know!)
That is awesome!! Love love love it. Will your kids come play with my kids?
ReplyDeleteYou did a terrific job! When I got to the last photo i just said, "Oh WOW!" BTW I received one of your ATC's from the Marian ATC swap and it's just beautiful, too!
ReplyDeleteYou are amazing and such a good mama! +JMJ+
ReplyDeleteWow, great job, the bushy eyebrow takes the cake!
ReplyDeleteWow-that is awesome! You are such an artist! :)
ReplyDeleteHow about Velcro for attaching a strap? Instead of holes? What a great mask!
ReplyDeleteIt came out fantastic! I love the 'unibrow' - such a great touch. And by having the eyeball painted on, it can't get lost like Jonathan's did (his was a wood hemisphere that fell out on one romp in the woods). Sebastian is very thoughtful to consider warts. Can't wait to see some of the play!
ReplyDeleteThat is amazing!!!! I think my kids would never take that off if they had one. It would be an argument at bedtimes and bathtimes and church. What a great job.
ReplyDeleteHa ha .. those masks look really funny! have to try once! :D
ReplyDelete